Talking to multiple APIs (with different access tokens)
TL;DR
Most apps only need one access token for their backend API.
The rest of this page explains how to talk to multiple APIs securely (Keycloak-style) using oidc-spa.
With oidc-spa, your frontend application is the OIDC client. Your backend is only a resource server that you call by attaching an Authorization: Bearer <access_token> header. This is different from models like Auth.js, where the server component constitutes the application in the OpenID Connect model.
This setup works well as long as your app talks to a single resource server.
In frontend-centric apps, you often need to call several APIs (resource servers), for example:
Your own REST API
Amazon S3
HashiCorp Vault
…
You can proxy those calls through your backend using a service account. That is a valid approach, but many architectures prefer to keep the backend light and stateless, and to concentrate logic in the frontend to lower infra cost and improve responsiveness.
The challenge is that you should not reuse a single access token across different APIs. Even if it “works", it is a poor security posture and will usually fail in practice because different APIs will expect different claims in the access token.
Why a single token is not enough
Access tokens carry claims that describe who the user is, who the token is for, and what permissions it grants.
Example:
{
  "aud": "https://api1.example.com",
  "sub": "xxxxxx",
  "groups": ["staff"]
}aud(audience) identifies the intended resource server.subis the user identifier.Other claims (such as
groups,scope, or custom claims) express authorization details.
Most OAuth-protected APIs require a specific audience and expect claims to be formatted in a particular way. These expectations often differ between APIs.
The right approach
Do not send the same access token to every resource server. Instead, configure your IdP so the client can obtain distinct access tokens for each target API, each token crafted exactly as that API expects.
Ideal world: Resource Indicators (RFC 8707)
In the ideal case, oidc-spa would support:
Your IdP would let you declare APIs independently and authorize which OIDC clients can request tokens for each API. Some providers like Auth0 or Microsoft EntraID support this pattern but keycloak do not and since it's the de facto standard OpenID Connect server, we intentionally align with Keycloak’s capabilities. We therefore do not support features that Keycloak does not support as of today. This avoids exposing APIs that would not work for most deployments.
Today with Keycloak
Keycloak does not yet implement RFC 8707. In Keycloak’s interpretation, when you declare an OIDC client you effectively couple an application with a resource server. To talk to multiple resource servers, you declare multiple clients in the same realm, all sharing your app’s Valid Redirect URI.
Example:
clientId: "myapp", valid redirect URI:https://myapp.my-company.com/clientId: "myapp-vault", valid redirect URI:https://myapp.my-company.com/clientId: "myapp-s3", valid redirect URI:https://myapp.my-company.com/
For each client, configure protocol mappers so the issued access token matches the target API’s expectations.
This limitation means that even if your IdP (Auth0, Clerk...) supports declaring APIs independently, you will still set things up this way to work with oidc-spa today.
Using multiple clients in oidc-spa
Once your clients exist, instantiate them side by side. oidc-spa fully supports multi-client usage.
Below is an example “My Secrets” page that exchanges an OIDC access token for a Vault token and then fetches the caller’s secrets. The example uses React, but the important parts use oidc-spa/core, so you can adapt it to your framework of choice.
That is all you need for multi-API access with per-API tokens.
Development and security caveats
The first time you call createOidc() you may get a full page redirect if silent session restoration via iframe is not available. This is the default on localhost in oidc-spa.
Also note that, if you configure more than one client AND iframe session restoration is not possible, oidc-spa will persist tokens in sessionStorage to avoid redirect loops. This relaxes the default security guarantees.
To remediate:
(For production) Put your IdP authorization endpoint on the same parent domain as your app whenever possible.
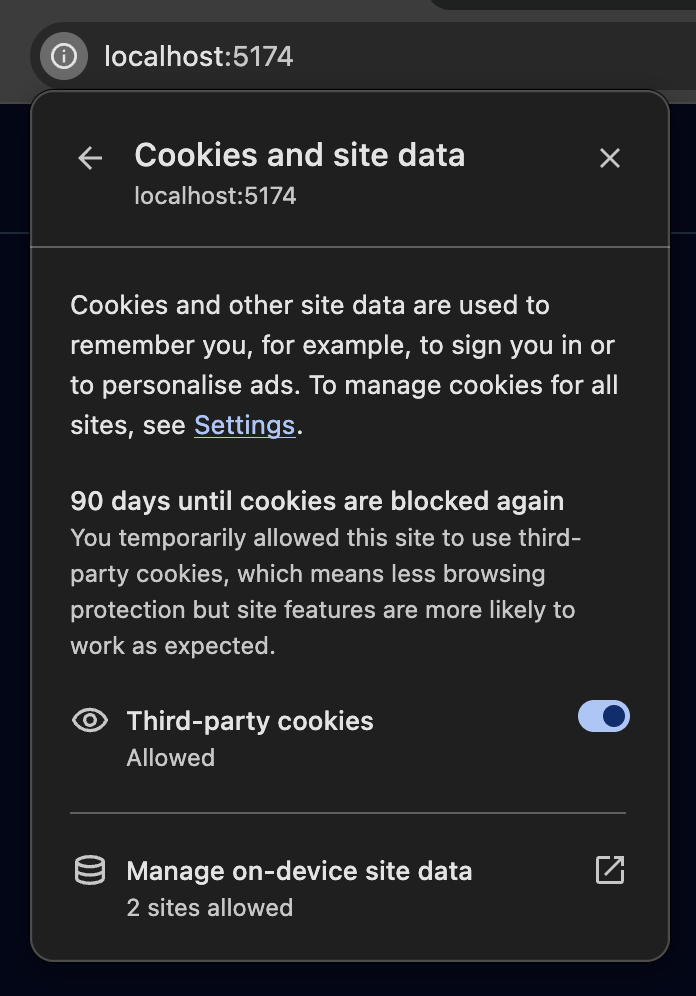
For a better dev experience allow third-party cookies in your local server and explicitely set
sessionRestorationMethod: "iframe", by default it's set to"auto"mening that it will only use iframe if it knows that cookies won't be blocked, and oidc-spa can't know that in localhost.

More info and detailed instructions:
Third‑party cookies and session restorationLast updated
Was this helpful?